Lead Segments
Lead segments group individual leads by criteria you define — their engagement level, profile attributes, event behavior, or any combination. They power campaigns, route leads to the right team, and serve as targets for triggers and notifications.
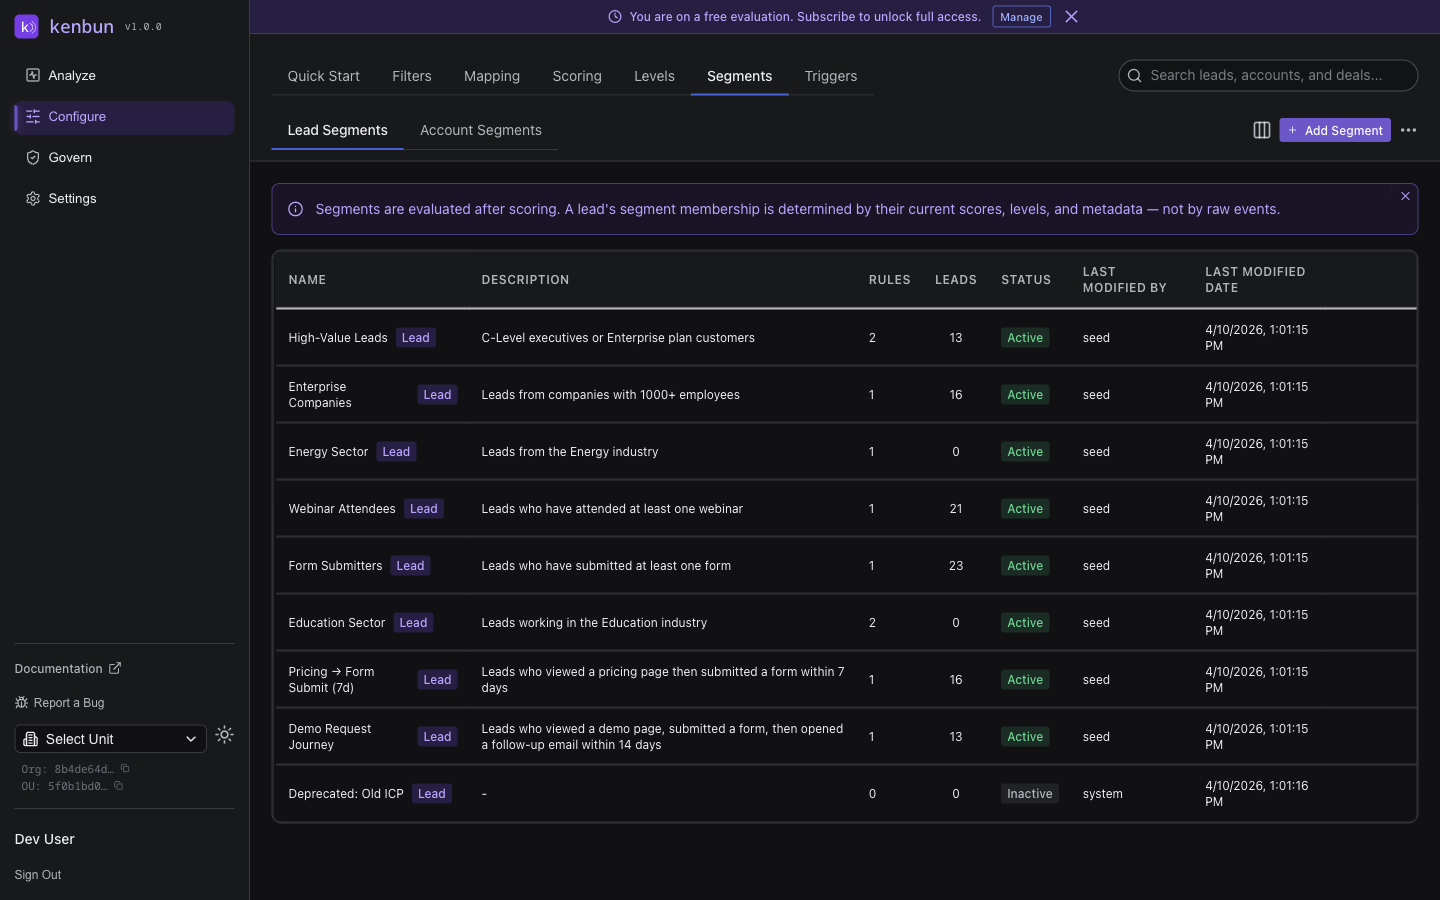
Creating a Lead Segment
- Navigate to Configure > Segments.
- Make sure Lead Segments is selected at the top of the page.
- Click Create Segment.
- Enter a name and optional description.
- Set the segment to Active so it starts evaluating membership.
- Click Save.
Adding Rules
Click into a segment to open the rule builder, then:
- Click Add Rule.
- Select the rule type (Lead Metadata, Event Metadata, Engagement Level, Profile Level, Account Metadata, Account Level).
- For Lead Metadata or Account Metadata: pick the field name (populated from your profile and account mappings).
- For Event Metadata: pick the event type first, then the metadata field within that event.
- For Level rules: pick the level name from the dropdown.
- Choose an operator and (when applicable) enter a value.
- Click Save Rules.
For the full list of rule types and operators, see How Segments Work.
Preview Membership Before Saving
The rule builder includes a Preview button. Click it to evaluate your pending rules and see:
- The total count of leads that match.
- A sample of individual matching leads.
Use this to sanity-check before saving. A segment that matches 80% of all leads is probably too broad; one that matches three leads is probably too narrow.
Common Lead Segment Patterns
Score-Based Tiers
Start here if you're new to segmentation. These segments are the foundation of most outreach workflows:
| Segment | Rule |
|---|---|
| Cold Leads | Engagement Level equals "Cold" |
| Warm Leads | Engagement Level equals "Warm" |
| Hot Leads | Engagement Level equals "Hot" |
| Sales-Ready | Engagement Level equals "Very Hot" |
Fit + Engagement Cross-Sections
Where the real value lives. These reveal opportunities a single dimension can't:
| Segment | Rule Logic |
|---|---|
| Strong Fit, Hot | Profile Level = "Strong Fit" AND Engagement Level in ["Hot", "Very Hot"] |
| Strong Fit, Cold | Profile Level = "Strong Fit" AND Engagement Level = "Cold" |
| Poor Fit, Hot | Profile Level = "Poor Fit" AND Engagement Level = "Hot" — likely competitors or noise |
Behavior-Driven
| Segment | Rule Logic |
|---|---|
| Demo Requestors | Event metadata: Form Submit where form_id contains "demo" |
| Pricing-Page Visitors | Event metadata: Page View where path contains "/pricing" |
| Webinar Attendees | Event metadata: Webinar Attend exists |
Role and Title
| Segment | Rule Logic |
|---|---|
| Senior Decision-Makers | Lead metadata: seniority in ["VP", "Director", "C-Level"] |
| Engineering Roles | Lead metadata: job_title contains "engineer" |
Adding Leads to a Segment Manually
Sometimes automatic rules don't capture every case (e.g., a list of leads from a recent event). To add leads manually:
- Go to Analyze > Leads.
- Filter or select the leads you want to add.
- Click Add to Segment in the toolbar.
- Choose the target segment and confirm.
The leads stay in the segment as long as they continue to match its rules. If you want a permanent group regardless of rules, export to CSV instead — see Best Practices for the static-snapshot pattern.
Related
- How Segments Work
- Account Segments
- Managing Segments
- Best Practices
- Mapping — required for metadata-based rules